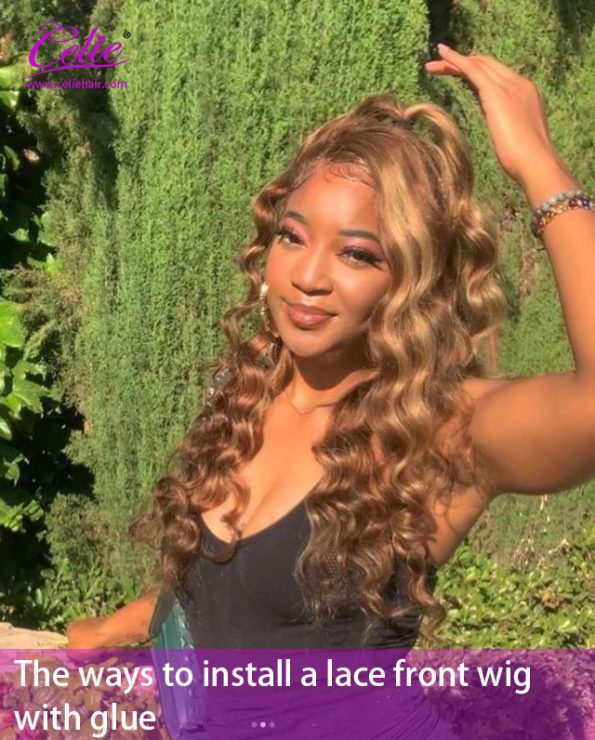
If you have recently purchased a lace front wig, you may want to know how to install a human hair lace front wig and the most efficient ways for beginners install a lace front wig. What stuff do you need for the installation? How to install a lace front at home by yourself? We will explain in detail how to install the lace front wig with glue. Please read on!
Prepare your natural hair.
You must first wash your hair and scalp with moisturizing shampoo and hair conditioner to ensure that your wig do not contain oil.
-
 Straight Butterfly Layer Cuts Ombre Brown with Dark Roots 6×5 Pull Go Glueless Wig
 -
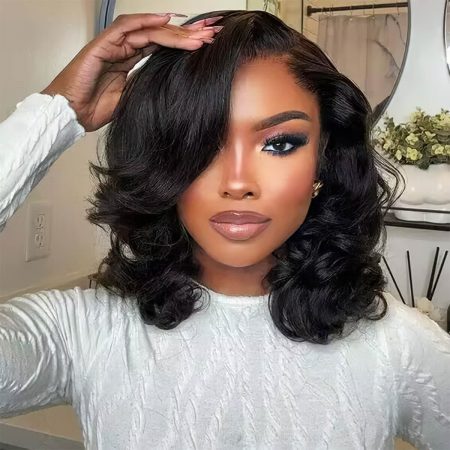
Dark Burgundy/Dark Brown Butterfly Haircuts Loose Wave 6×5 Glueless Wig Pre-Layered Face Framing Wig
-
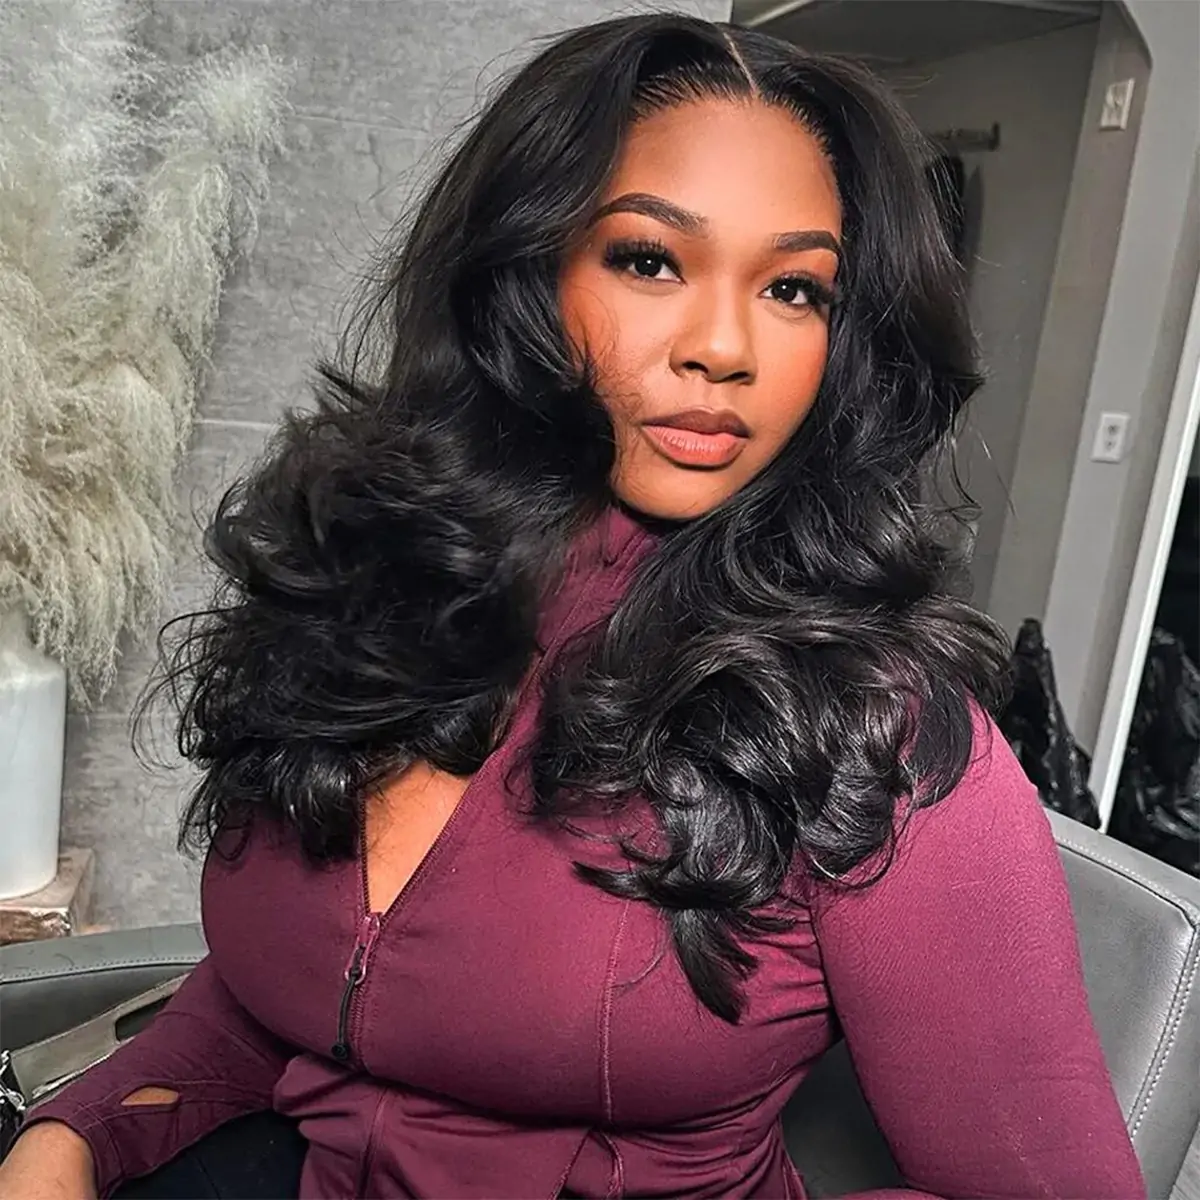
Butterfly Haircuts Dark Root to Mocha Brown Ombre 6×5 Natural C Part Pre-styled Loose Wave Glueless Wig 250% Density
-
Yaki Pre-layered 90’s Blowout Haircut 6×5 C Natural Part Pull Go Glueless Wig 180% Density
-
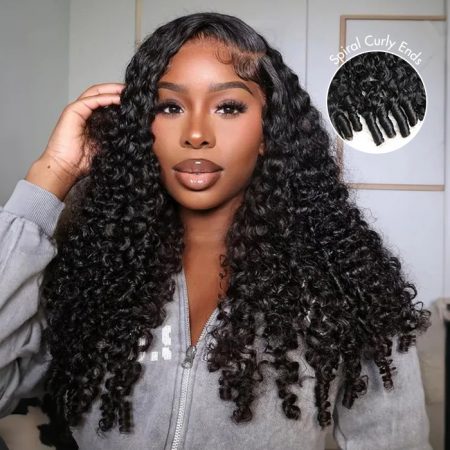
Burmese Curly Wig With Finger Coil Ends Pull & Go Drawstring 13×6 Glueless Wig Full Ends
-
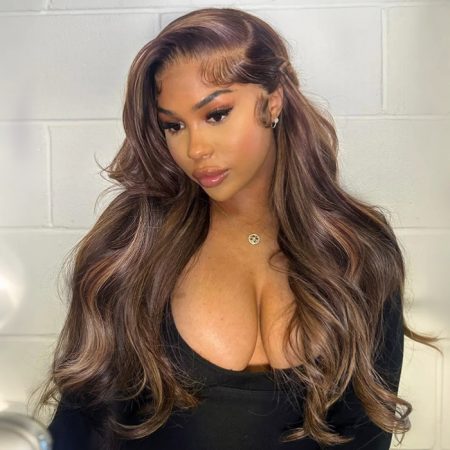
Coffee Cream Highlight Body Wave Glueless Wig C-Side Part Natural Scalp 180% Density


Short hair.
For people who has short hair, they don’t need much preparation. Put on your wig cap and make sure all your hairlines are hidden underneath. Depending on the length, you can also choose cornrows style.
Medium and long hair.
For medium and long hair, we advise you braid your hair. In this way, the wig can be installed on a flat surface.
How to braid hair?
- If your hair feels dry, moisturize it.
- Smooth your edges and hairline with cream or gel.
- Divide the hair into four or more sections according to the number of hairs. Pay attention to your parting and where your braids are placed.
- Braid each part.
- Pull your braid back to the back of your head and fix it with a hairpin.
Put on your wig cap.
Put your wig cap on your head. Gently stretch your cap and hide your hairline. Depending on the wig cap, you may need to make holes around your ears. If it’s convenient, fix the cap on the top of the head with a small amount of adhesive. When wearing the lace front wig, the cap can prevent the wig from falling. If your cap doesn’t blend into your skin, put some cosmetics around your head.
Trim redundant lace.
Put the wig on your head and adjust to the position that suit you the most according to your own preferences when looking in the mirror. Fix the wig on the top of your head with hair clips.
Now, trim the lace carefully with a scissors or razor. We advise that you trim the front of the lace first. Cut small pieces at a time so that you don’t remove the necessary part. We recommend a zigzag pattern to make your hairline look more realistic.
Next, trim the lace around the neck and ears. Keep using your zig-zag motions, as you did in the front of your head.
Create a wig back look.
Most people don’t know how to make the back of wigs look natural. Flip your wig, and you will find that a layer of half-inch thick material has doubled. Cut the thread with sharp scissors, and then take out a layer from the back of the wig. Use lace tones to match your skin tone. Finally, spray with frozen hair gel.
Use glue.
Using your favorite glue, apply a thin layer around the hairline area. In order to get a smooth cohesive line, please use a makeup brush to apply adhesive to your head. Remember not to wear makeup when wearing a wig. Then let the adhesive dry for a few minutes.
Fasten lace front wig.
Put on the wig slowly and pay attention to the position of the wig. If there are combs, use them to hold the wig in place. Your wig should feel safe but not too tight. Doing so will let your head feel uncomfortable.
First, distribute your wig in the middle of your forehead. With your fingers, press your front edge on the glue. Keep doing the same thing from middle ear to each ear. Once totally put down, use a hair dryer in a cool environment to stick the glue and wig together. After drying, fasten it with a scarf to ensure that your lace is firm.
-
SDD Afro Curly Wear Go Half Wig with Layer Flip Over Glueless Install 100% Natural Hairline
-
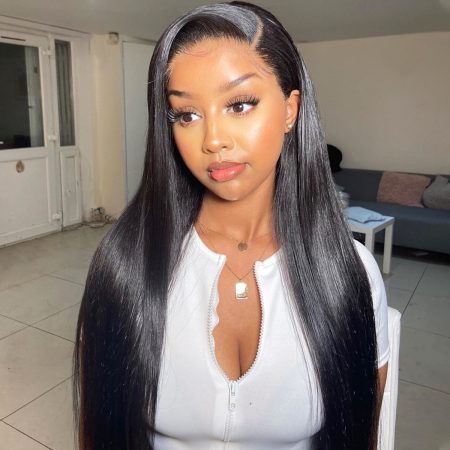
Toffee Brown Bone Straight Bob Wig 6×5 Pre-cut Lace Glueless Straight Bob Wig 180% Density
-
Straight Butterfly Layer Cuts Ombre Brown with Dark Roots 6×5 Pull Go Glueless Wig
-
Dark Burgundy/Dark Brown Butterfly Haircuts Loose Wave 6×5 Glueless Wig Pre-Layered Face Framing Wig
-
Butterfly Haircuts Dark Root to Mocha Brown Ombre 6×5 Natural C Part Pre-styled Loose Wave Glueless Wig 250% Density
-
Yaki Pre-layered 90’s Blowout Haircut 6×5 C Natural Part Pull Go Glueless Wig 180% Density


Wig styling.
The style of your wig depends entirely on your own personal preference. You can use popular tools to create the desired look. For flyaway, please make sure you have a wax stick on your hand.
Other ways to wear the lace front wigs.
Although glue and adhesive are the most suitable methods, it is not the only method to wear a lace front wig. There are other options!
Wig grip.
A wig grip is a velvet fabric that wraps around your head and provides a place to fix your wig. If the handle of the wig you bought is close to your skin hue, that’s the best. Put the wig group on the hairline behind the ear. Use the Velcro strap on the handle to adjust the size according to the size and shape of the head. Put the wig on the top of the grip so that the lace edge matches the edge of the wig grip. Gently pull the wig into place and adjust it until you get the look you want. Design the style as needed.
Sew the lace front wig.
This is the best choice for anyone who wants to wear a wig for a long time and protect their own natural hair and sensitive skin. Sewing a lace front wig takes more time than other options, but it is totally worth it, because you can wear the wig for quite a long time.
There are plenty of textures, lengths, styles and ways to install a lace front wig, and the choices are infinity.
-
Glueless Straight Bob Wigs Brazilian Clear Lace 180% Density 6×5 Hd Closure Wig Human Hair
-
Salon Style Butterfly Haircuts C Part with Face Framing Layers 13×4 Full Frontal Glueless Wig 250% Density
-
6×5 Pre-cut Lace Wear & Go Wig Highlight Short Cut Loose Body Wave Wig Pre-plucked Hairline
-
Brazilian Straight 13×4 Full Frontal HD Lace Wig Glueless Wig Pre-plucked With Baby Hair 200% 250% Density
-
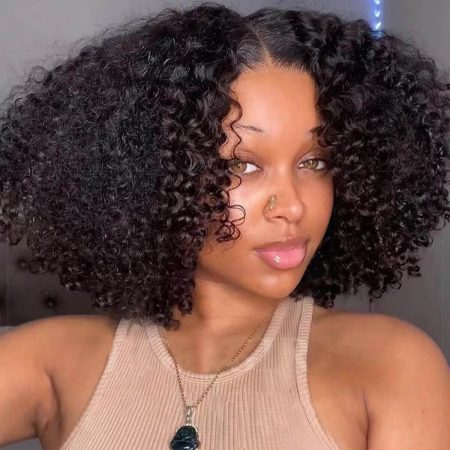
Kinky Curly Short Bob Wig 6×5 Pre-cut Hd Lace Wear Go Glueless Wig 180% Density
-
Straight 13×4 Glueless Lace Frontal Wigs with Layer Inner Buckle Human Hair Wigs 180% Density